At Home Pedicure
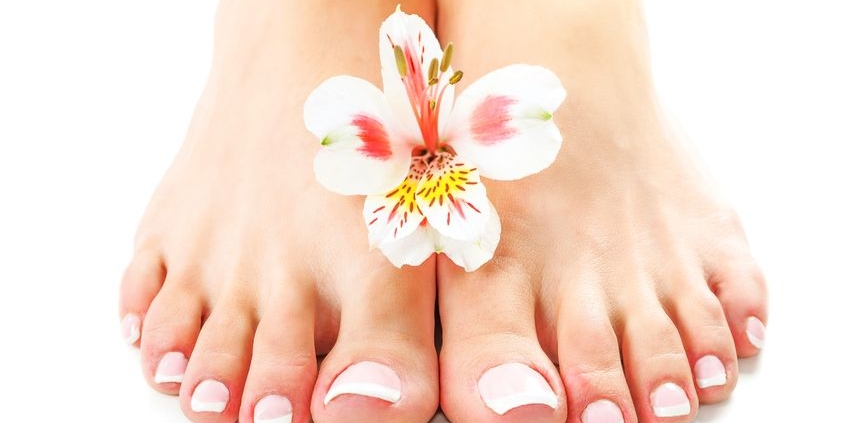
Since we are presently unable to make any personal appointments at our local salons due to COVID-19, it looks like we may have to take matters into our own hands. As many of us are likely shaving, tweezing and filing ourselves until we can rejoice in the reopening of our favourite place, it has also come time to break our feet out of hibernation as the weather becomes warmer. An at home pedicure is not too difficult, provided you have the tools and the time. And right now, we all have the time! Let’s gather what we need and head to the bathroom.
Tools to Have:
- Towel
- Basin (or tub)
- Epsom salts
- Polish remover and cotton pads
- Foot paddle
- Foot cream or lotion
- Nail clipper, file and buffer
- Cuticle pusher ( or orangewood stick)
- Tissue
- Polish ( your colour choice, base and top coat)
- Alcohol
Prep:
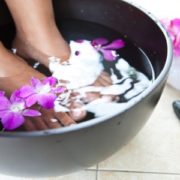
To start our pedicure, we first need to remove the old polish. Acetone based polish remover is preferred as it will remove the polish quickly and completely. Other polish removers are fine as well, just might take an extra few minutes to remove the polish. Pour some on your cotton pad or ball and get to work! Fill your basin or tub with warm water and add the Epsom salts to soften and deodorize the feet. If using a basin, a tablespoon is enough. If using your tub, 1/2 a cup of salts is plenty. Soak for about 5 minutes to allow calloused, rough skin to soften.
Heels:
After soaking, exfoliate your rough patches using your foot paddle. Buff the heels, balls of your feet, and and any other part of your foot that needs exfoliating. Once smooth, apply foot cream or lotion to the areas to keep them soft and hydrated.
Toes:
Using your nail clippers, cut your toenails straight across and soften the edges with your nail file. Cutting your toenails straight across (and not too short!) will avoid the development of an ingrown toenail. Take your cuticle pusher or orangewood stick and very gently push back your cuticles. Use your little white buffer and smooth out the top of the nail and then apply a dab of cuticle oil and rub into the cuticles.
Polish:
Deodorized, softened, creamed and filed, you’re ready for polish! Take a cotton pad with some polish remover and wipe your nails clear of any remaining cuticle oil. Next, take 2 tissues and roll and weave each tissue between your toes on each foot. Apply a base coat to each nail, 2 coats of colour and finish with a top coat to seal it all in. Be sure to apply each coat of polish on the thinner side to ensure even appearance and quicker drying time. If you happen to “colour outside the lines”, take your orangewood stick, wrap a tiny piece of cotton around the tip and dip it into the remover. Carefully remove any polish left in your skin and voila, pedicure completed!
Wash Your Tools
Lastly, wash your tools in soap and water and soak them for 10 minutes in alcohol, preferably 70%. You’ll want to keep them in good condition for next time.
All pedicured up with no place to go? Don’t fret, we will be seeing each other soon for the real pampered deal. These instructions can also be a great help tidying your feet in between professional pedicures as well. Now get out those flip flops!
Let’s Connect
We welcome your questions and feedback. You can connect with us via email or telephone. And as always, don’t forget to follow us on Facebook and Instagram for the latest trends and special offers!
Til next time,
A Perfect Pinky Team


Leave a Reply
Want to join the discussion?Feel free to contribute!